Introduction
Experiencing audio interruptions with your Turtle Beach headset can be incredibly frustrating, especially during critical gaming moments or important calls. These unexpected cutouts break the immersion and can significantly impact your overall experience. To overcome these challenges, it’s essential to identify the possible causes and execute effective solutions. This article will walk you through various reasons why your headset might be cutting out and equip you with practical troubleshooting steps. Moreover, you’ll learn preventive actions that can be taken to ensure consistent audio performance in the future.
Common Causes of Audio Cutouts in Turtle Beach Headsets
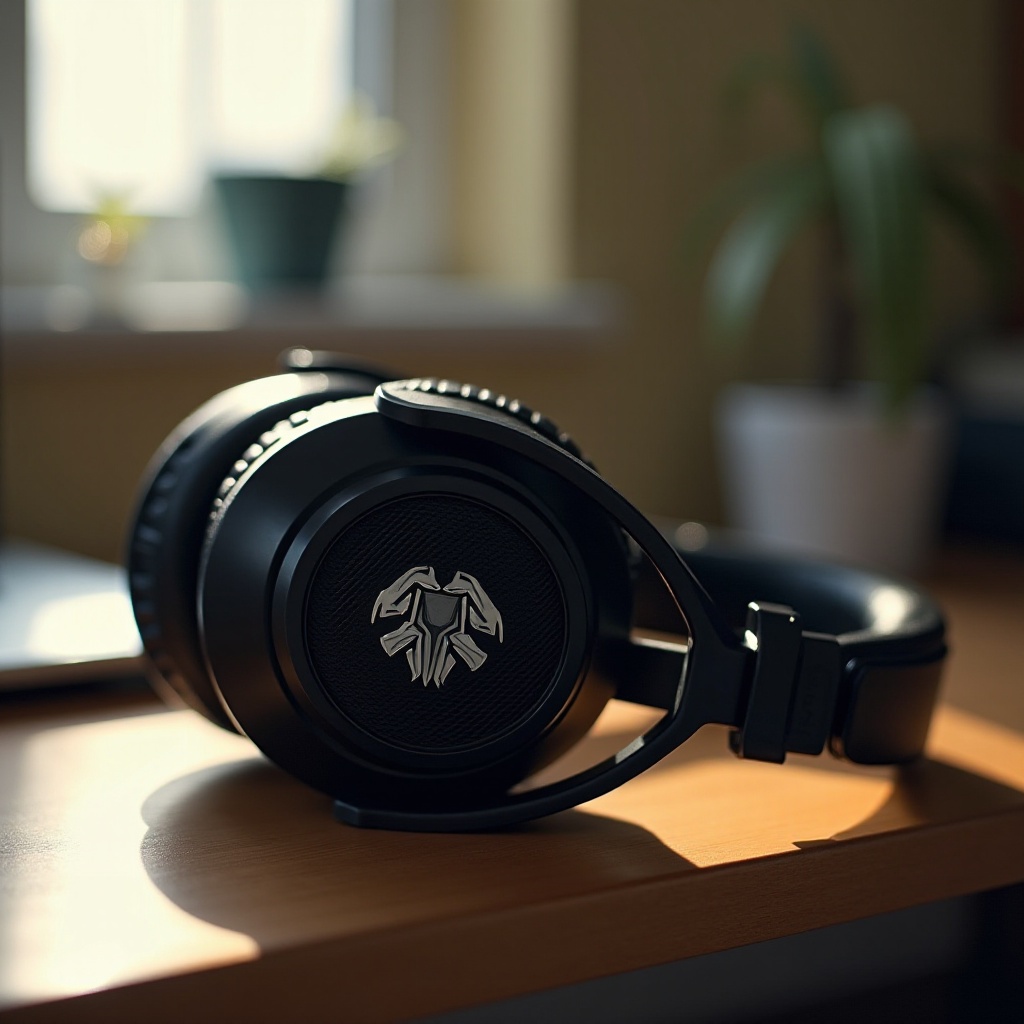
Understanding the root of the problem is the first move towards solving it. Low battery levels often result in inconsistent audio quality, causing sporadic interruptions. Additionally, wireless interference from nearby electronics like Wi-Fi routers can disrupt the signal. Outdated software may also be a culprit, highlighting the need to keep your device updated. Physical wear or damage, such as frayed cables, can degrade audio integrity, leading to frequent cutouts. Addressing these common issues can effectively guide your troubleshooting process and lead to viable solutions.
Troubleshooting Steps for Resolving Audio Issues
-
Check Battery and Power Supply
- Verify that your headset is fully charged or equipped with new batteries; low power can degrade audio output.
-
Make sure the power source is trusted by using a functional charger or replacement batteries.
-
Minimize Wireless Interference
- Keep distance from potential interference sources like microwaves or routers which could obstruct the wireless connection.
-
Adjust the location of the wireless receiver to strengthen the connection to your device.
-
Update Software and Firmware
- Search for software updates available for both your headset and connected devices to ensure optimal operation.
- Adhere to the manufacturer’s guide when updating firmware to avoid additional issues.
Thoroughly addressing these areas can significantly improve your headset’s performance by identifying the cause of the audio disruption.
Examining Physical Components and Connections
After verifying power and software, the next avenue lies in examining physical elements of your headset.
-
Inspect for Wear and Tear
- Check for any noticeable damage like frayed cables or cracks that could compromise sound quality.
-
Gently clean areas where connections occur to remove build-up that could obstruct performance.
-
Verify Cable and Port Connections
- Ensure all cables are properly attached, whether your setup is wired or wireless.
- Test other ports if feasible; issues might stem from a specific connection point.
Evaluating the physical components systematically can proactively mitigate problems affecting your headset’s audio output.
Advanced Solutions for Persistent Audio Problems
For issues that persist beyond standard troubleshooting, more advanced solutions need to be explored.
-
Conduct a Complete Headset Reset
-
Use Turtle Beach’s reset instructions to restore factory settings, potentially fixing deep-rooted connectivity issues.
-
Try on Different Platforms or Devices
- Utilize diverse devices to test whether the issue lies with the platform rather than the headset.
-
This approach can affirm the headset’s functionality and isolate software conflicts.
-
Contact Turtle Beach Technical Support
- If unresolved, engage with Turtle Beach support experts for in-depth troubleshooting or hardware repair guidance.
Advanced scenarios can occasionally necessitate professional evaluation to decipher compatibility intricacies or hardware faults.
Preventive Measures to Ensure Consistent Audio Performance
Preventing future audio issues requires consistency in caring for both your headset and its operational surroundings.
- Regularly maintain battery levels to ensure steady power.
- Manage your environment to minimize electronic interference from other sources.
- Stay ahead of updates by routinely checking for software improvements.
- Be gentle with handling to prevent physical impairment.
Embracing these preventive habits secures the future performance of your headset.
Conclusion
Finding the cause of audio interruptions in your Turtle Beach headset isn’t a small task, but a structured and methodical approach can help restore optimal audio quality. By pinpointing possible causes, implementing thorough troubleshooting, and adopting preventive measures, seamless audio delivery is attainable. Should these strategies fall short, reaching out to Turtle Beach’s knowledgeable support can be the key. In the end, diligent maintenance and proactive care are essential to minimizing future interruptions, ensuring an enjoyable and consistent auditory experience.
Frequently Asked Questions
How can I improve my Turtle Beach headset’s battery life?
Regular charging and avoiding total battery depletion helps extend life. Utilize any battery-saving modes, and keep consistent with best usage practices.
What should I do if my Turtle Beach headset still cuts out despite following these steps?
If issues persist, contact Turtle Beach’s technical support for personalized troubleshooting for your specific model.
Are Turtle Beach headsets compatible with all gaming platforms?
Many headsets offer cross-platform compatibility, but it’s wise to check your model against your platform requirements before purchasing.