Introduction
Removing keys from your MacBook Pro demands care precision, but the right steps will make the process manageable. Whether you’re addressing persistent key issues or aiming for a thorough clean, understanding proper removal and reinstallation of keys is key. This guide offers detailed instructions to maintain your MacBook in excellent condition.

Preparing for Key Removal
Proper preparation minimizes risks while facilitating a smooth key removal process.
- Tools Required: Secure the necessary tools like a plastic spudger for prying keys, a microfiber cloth, and compressed air for cleaning. A flat workspace is also essential.
- Precautionary Measures: Power down and disconnect your MacBook Pro. This prevents electrical hazards and preserves its functionality during maintenance. Position it securely on a clean surface to work efficiently.
With your materials gathered and setup complete, you’re ready to begin removing keys safely.
Step-by-Step Guide to Removing MacBook Pro Keys
Execute the key removal process meticulously with the following approach:
- Power Down and Setup: Confirm your MacBook Pro is off and unplugged. Use a solid surface to prevent movement.
- Key Identification: Identify problematic keys or those requiring cleaning.
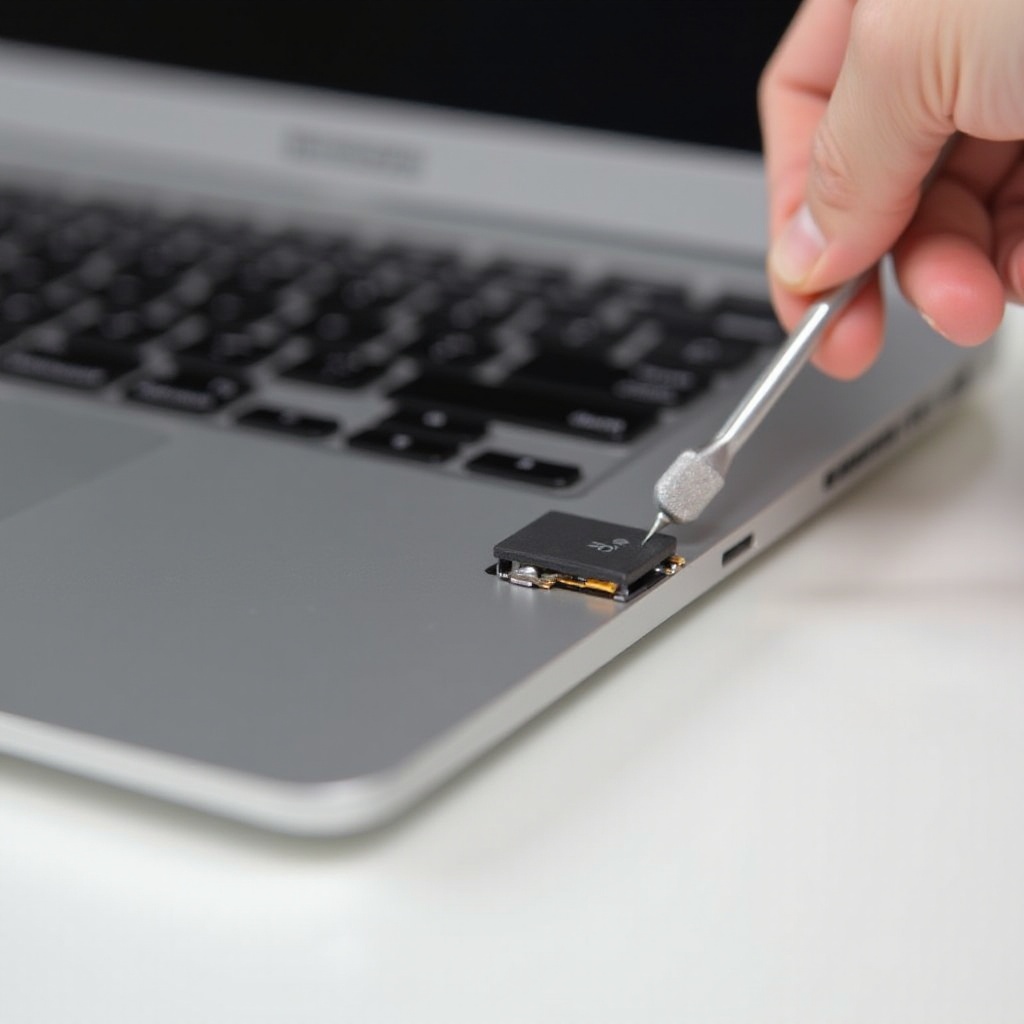
- Keycap Removal: Insert your tool under the edge of the keycap and apply gentle pressure to lift it. Be cautious to avoid damaging underlying mechanisms.
With your keys lifted, focus on cleaning to ensure continued keyboard efficiency.
Cleaning Key Mechanisms
Cleaning beneath your MacBook Pro keys significantly enhances performance and longevity.
- Best Cleaning Practices: Deploy compressed air to eliminate debris, and use a lightly dampened microfiber cloth for reaching difficult areas.
- Recommended Cleaning Products: Opt for isopropyl alcohol on a cloth or cotton swab for deeper cleaning, being wary of excess moisture.
Upon cleaning, move to reinstallation, ensuring your MacBook Pro’s keys operate flawlessly.
Reinstalling MacBook Pro Keys
Well-cleaned areas deserve attentive key reinstallation to secure functionality.
- Aligning Keycaps: Position each keycap correctly over its switch to ensure proper fit and operation.
- Ensuring Functionality: Press the keycaps gently until they click securely. Checking each key confirms successful reinstallation and performance.
Though reinstallation can be handled smoothly, challenges may arise. Be prepared with troubleshooting strategies.

Troubleshooting Common Issues
Knowing the resolution for possible issues ensures a seamless key maintenance process.
- Dealing with Stuck Keys: Persistent keys may need further cleaning or adjustment. Compressed air and rechecking alignment can help.
- Handling Broken Mechanisms: If damage is present, consider purchasing replacement parts or seeking professional assistance to restore functionality.
As you conclude the key removal and cleaning process, take note of the importance of regular maintenance.
Conclusion
Successfully removing, cleaning, and reinstalling MacBook Pro keys helps maintain keyboard health, ensuring your device remains in top working condition. Regular checks and cleaning sessions are recommended to keep keys responsive and clean.
Frequently Asked Questions
Can I remove all keys at once?
It’s advisable to remove keys individually to prevent confusion or potential damage to adjacent keys.
What should I do if a key is damaged during removal?
If a key is damaged, seek replacement parts or consult professional services to ensure proper repair and functionality.
How often should I clean under my keyboard keys?
Consider cleaning under the keys every few months or when you notice they are becoming sticky or less responsive.