Introduction
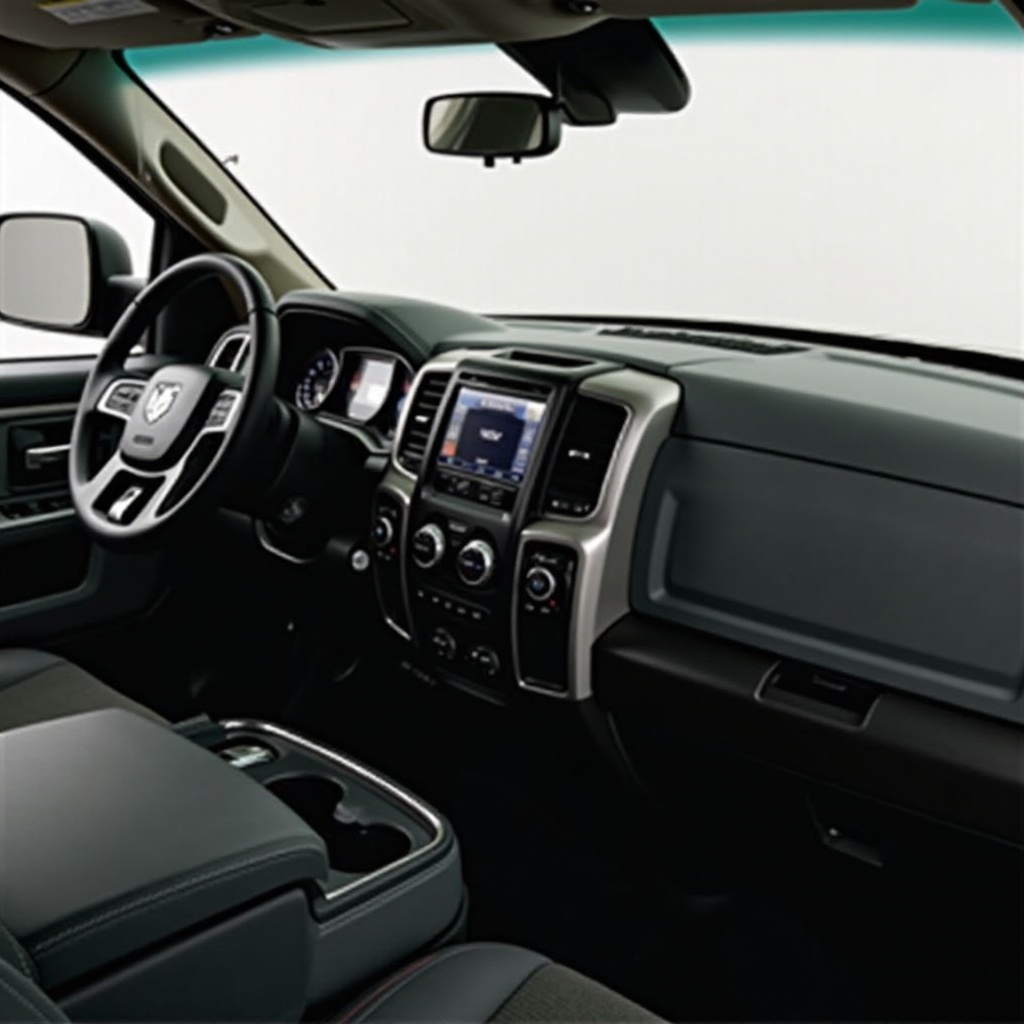
Replacing dash speakers in a Ram 1500 can significantly enhance your driving experience. Upgrading the factory speakers allows for clearer sound, better bass, and improved audio quality overall. This guide will walk you through each step of the replacement process, ensuring you have the tools and knowledge necessary to complete the job. Whether you are a seasoned DIY enthusiast or new to car audio systems, this guide will help you achieve professional-level results.
Tools and Materials Needed
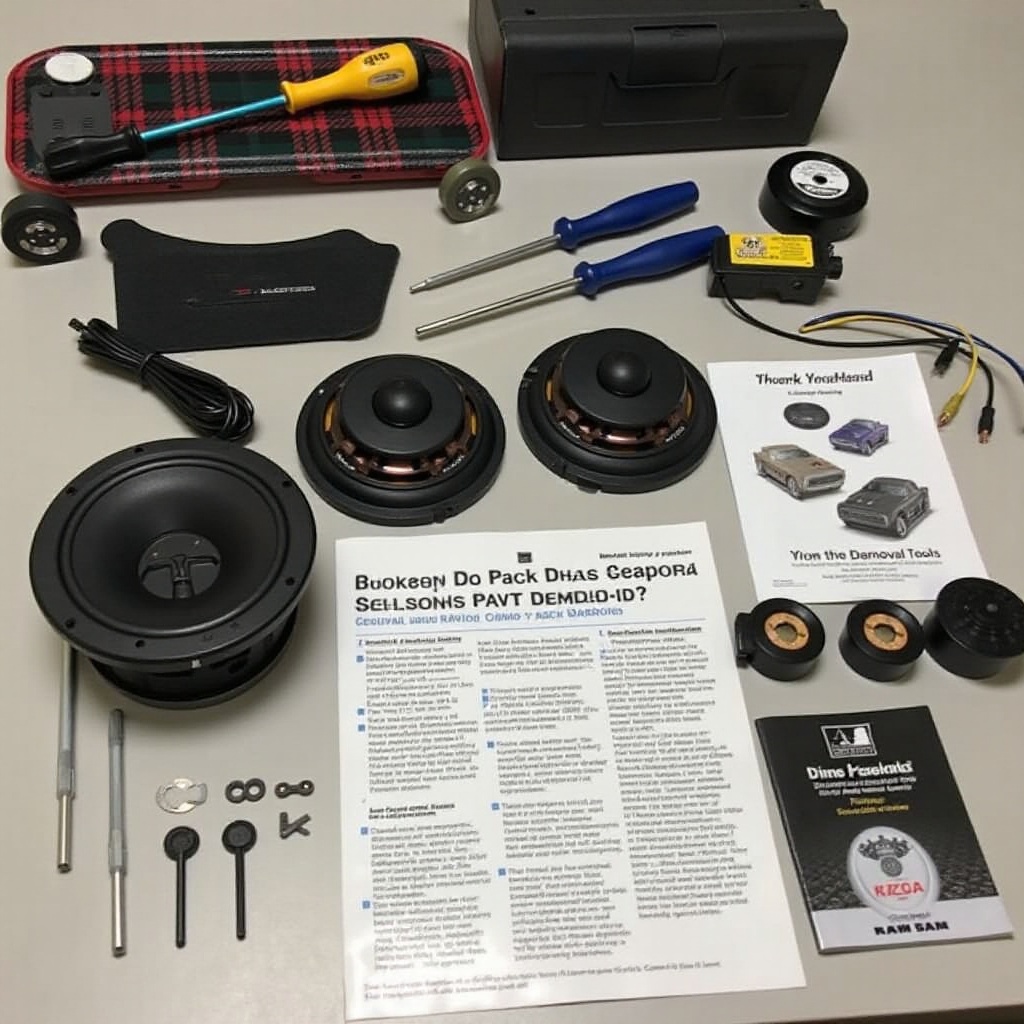
Before starting the replacement process, gather the necessary tools and materials. Proper preparation ensures a smooth workflow and prevents avoidable delays.
- Screwdrivers: Both flat-head and Phillips screwdrivers.
- Panel removal tool: To safely pry off dash panels without causing damage.
- Wire cutters/strippers: For clean cuts and stripping wires if needed.
- Replacement dash speakers: Compatible with Ram 1500.
- Screws and brackets: May be needed for mounting new speakers.
- Electrical tape: To secure wire connections.
- User manual: Always helpful for specific instructions related to your Ram 1500 model.
Having these tools and materials at hand will make the replacement process quicker and more efficient.
Preparation Steps
Preparation is key when replacing your Ram 1500 dash speakers. Follow these steps before diving into the actual replacement:
- Park and Power Off: Ensure your vehicle is parked securely and turned off. Disconnect the battery to avoid electrical shocks.
- Consult the Manual: Review the user manual for specific guidance on accessing the dash speakers and any peculiarities related to your model.
- Clear Workspace: Keep the work area clear of debris. Ensure you have good lighting.
- Organize Tools: Lay out your tools and materials in an organized manner for easy access.
By organizing everything beforehand, you’ll reduce the chances of disruption and ensure a smoother workflow.
Removing the Factory Dash Speakers
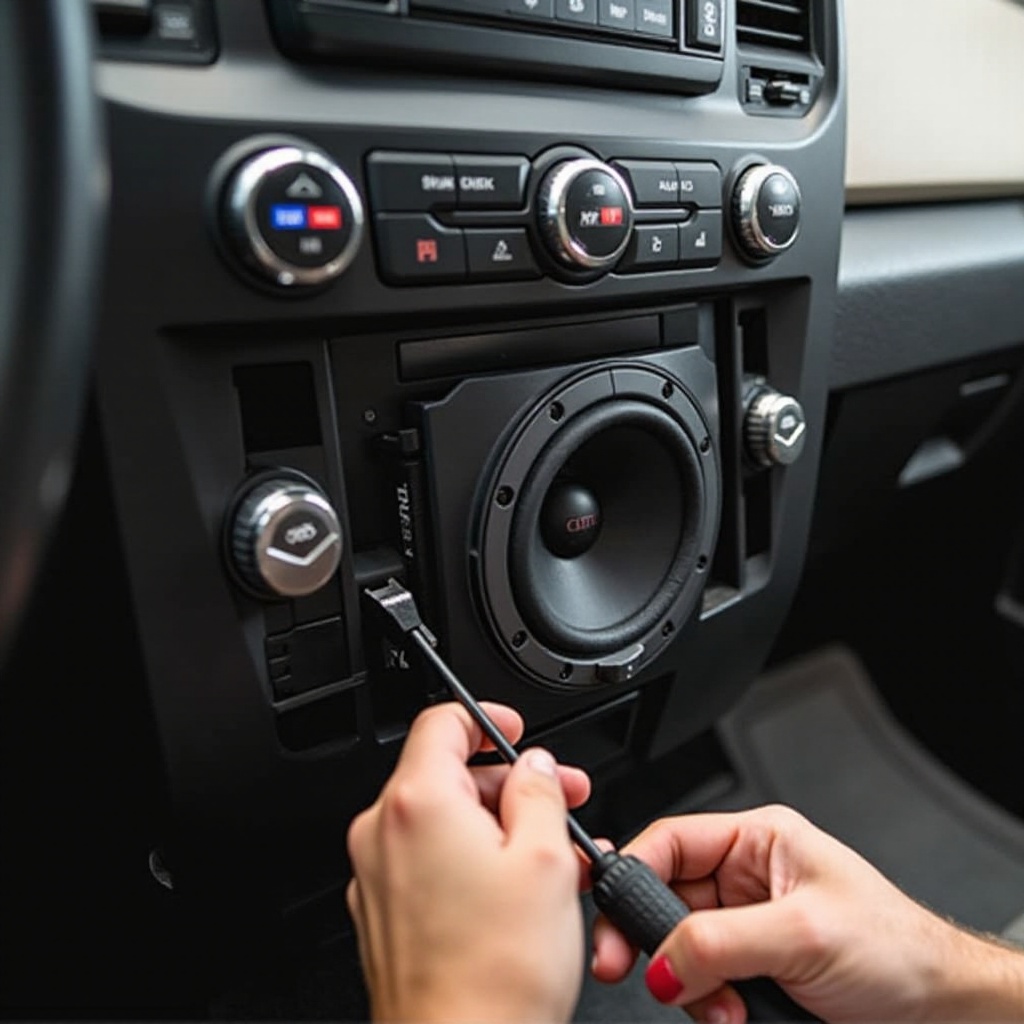
With your workspace prepared, you can now begin the removal process of the factory speakers. This section will guide you through it:
- Remove Dash Panels: Use the panel removal tool to gently pry off the dash panels surrounding the speakers. Be careful to avoid damaging the clips.
- Locate the Speakers: Once the panels are removed, locate the factory speakers. They are usually held by screws.
- Unscrew the Speakers: Using the appropriate screwdriver, remove the screws securing the speakers. Ensure you keep the screws safe for later use.
- Disconnect the Wiring: Carefully disconnect the wiring harness from the back of the speakers. Note the connections for when you install the new speakers.
Removing the factory speakers is a delicate process requiring attention to avoid causing damage to the dash or electrical components.
Installing the New Dash Speakers
With the factory speakers removed, you are now ready to install your new speakers:
- Check the Fit: Before fully installing, test fit the new speakers to ensure they fit properly within the openings.
- Connect the Wiring: Reconnect the wiring harness to the new speakers. Utilize electrical tape to secure any loose connections and prevent them from coming apart.
- Position the Speakers: Place the speakers into the dash mounts. Ensure they are correctly oriented for optimal sound output.
- Secure the Speakers: Use screws to secure the speakers in place. If new screws or brackets were supplied with the speakers, use those for a more secure fit.
- Replace Dash Panels: Once the speakers are securely in place, reattach the dash panels by snapping them back into position gently but firmly.
Following these steps will ensure that your new speakers are installed securely and positioned for the best sound performance.
Testing and Adjusting the New Speakers
After installing the new speakers, it’s important to test and adjust them to ensure they are working correctly:
- Reconnect the Battery: Reconnect the vehicle’s battery and start the engine.
- Turn on the Audio System: Switch on the audio system and play music or a sound source.
- Check Sound Quality: Listen for clarity, volume, and any distortions. Adjust balance and fade settings to test each speaker individually.
- Make Adjustments: If necessary, adjust the speakers’ position or check connections if the sound quality isn’t perfect. Minor tweaks may be required to optimize performance.
Testing the speakers guarantees that they are installed correctly and functioning as expected.
Troubleshooting Common Issues
Occasionally, new speaker installations may encounter some issues. Here’s how you can troubleshoot common problems:
- No Sound: Ensure all wiring connections are securely connected. Check the audio system settings.
- Distorted Sound: Verify that the speakers are correctly mounted and not physically damaged. Adjust balance and fade settings.
- Intermittent Sound: Inspect the wiring for any loose or frayed connections. Secure any loose connections.
Addressing these issues will help you achieve the best sound quality from your new speakers.
Conclusion
Replacing dash speakers in a Ram 1500 is a rewarding task that can greatly enhance your audio experience. By following this guide, you’ll have your new speakers installed and working perfectly in no time. Happy driving with your improved sound system!
Frequently Asked Questions
How long does it take to replace dash speakers in a Ram 1500?
On average, replacing dash speakers in a Ram 1500 takes about 1-2 hours, depending on your experience level.
What are the best replacement speakers for a Ram 1500?
Some recommended replacement speakers for a Ram 1500 include brands like JBL, Kicker, and Pioneer, which are known for their quality and compatibility.
Do I need professional help to replace my Ram 1500 dash speakers?
While professional help ensures quality, replacing dash speakers in a Ram 1500 is a manageable task for those comfortable with DIY projects and following detailed guides.