Introduction
Expanding your PlayStation 5’s memory can elevate your gaming experience, providing more space for your extensive library of games and multimedia. This comprehensive guide is crafted to guide you through the intricate process, ensuring you are well-equipped to perform the upgrade with confidence. Whether you’re a seasoned tech enthusiast or approaching this task for the first time, we have simplified the procedure to make every step clear and actionable. From selecting the optimal solid-state drive (SSD) to integrating it into your system, this guide holds the key to unlocking your console’s full storage potential.
Why Upgrade Your PS5 Memory?
For avid gamers, upgrading the PS5’s memory isn’t just an option—it’s a necessity. With constant new releases, the default storage within your PS5 can swiftly become insufficient, forcing you to frequently delete beloved games. This constant cycle can become tedious. Installing additional memory means you can have your complete game library accessible at any time, without the stress of making hard choices about which games to uninstall. Increased storage also promises a smoother gaming experience, minimizing latency and optimizing load times for more seamless gameplay.
Understanding Compatible Storage Options
One of the critical aspects of expanding your PS5 memory is selecting the right SSD. Compatibility is paramount, as only specific models will function with the PS5 system. Taking a moment to understand these choices can save you from future headaches.
Recommended SSDs for PS5
Your PS5 supports M.2 NVMe SSDs with PCIe Gen4 x4 interfaces. Top recommendations include the Samsung 980 PRO, WD_BLACK SN850, and Seagate FireCuda 530. These SSDs are celebrated for their speed and reliability, perfectly suiting the PS5’s rigorous demands.
Speed and Capacity Considerations
While selecting your SSD, dual factors require consideration—speed and capacity. Sony recommends opting for drives with at least 5,500 MB/s read speed for optimal performance. In terms of capacity, you have flexibility, from 250GB up to a hearty 4TB, adapting to both your needs and budget constraints.
Gathering Necessary Tools and Preparations
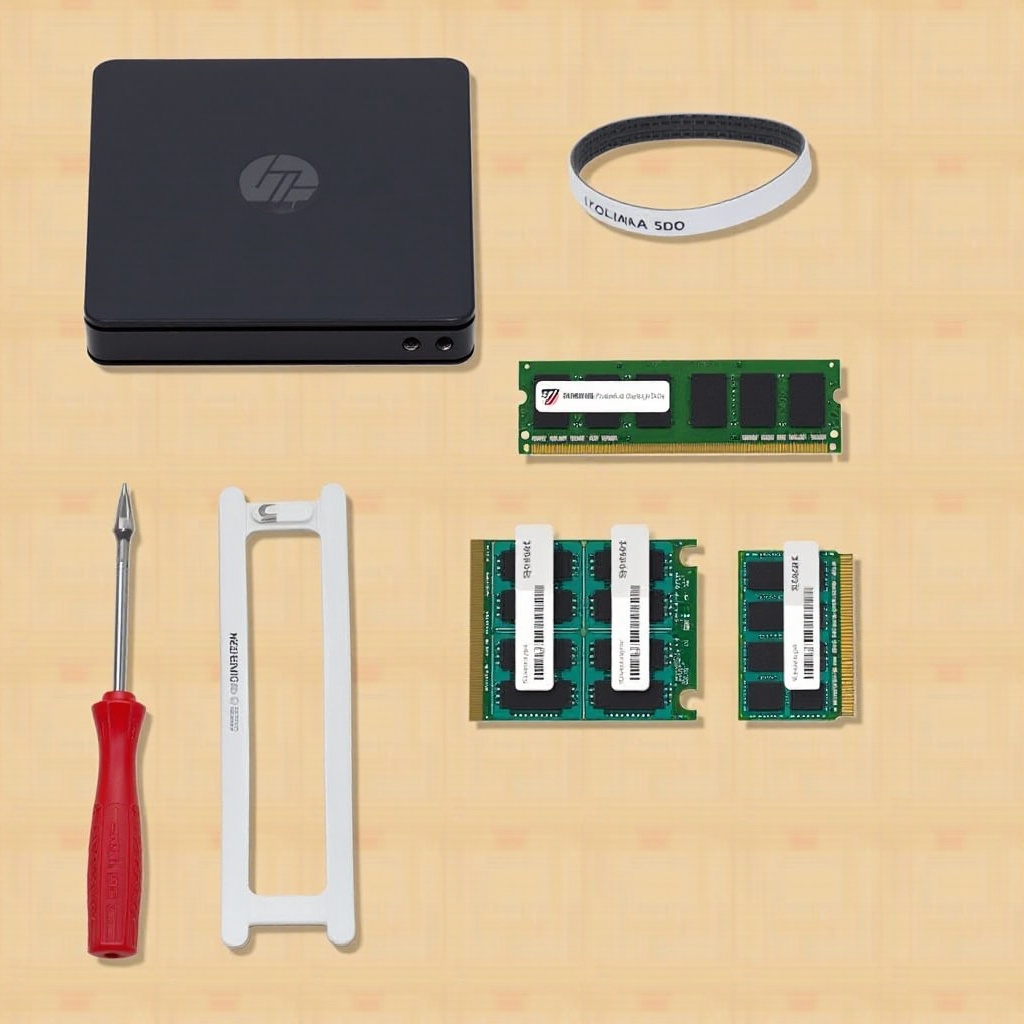
Once you’ve selected your SSD, prepare the necessary tools to streamline the installation process. A compatible M.2 SSD and a small Phillips-head screwdriver are essential. Opt for a clean, static-free area to work from, and keep a USB drive handy should you need a backup of your data. Proper preparations will smooth your work flow and minimize potential data loss.
Preparing Your PS5 for Installation
Pre-installation setup is essential for a smooth and error-free SSD installation which also ensures data preservation.
Backing Up Your Data
Data back-up is a safeguard against potential loss during SSD installation. Use a USB drive to save crucial game files or opt for cloud-based backups if already utilizing PlayStation Plus services. The peace of mind this provides is invaluable.
Updating the PS5 Firmware
Stay ahead of compatibility issues by ensuring your PS5’s firmware is current. From ‘Settings’, navigate to ‘System’, then ‘System Software Update’. Updating solidifies compatibility with your new SSD, making installation trouble-free.
Step-by-Step Memory Installation Process
Here’s a seamless approach to integrating your new SSD into the PS5.
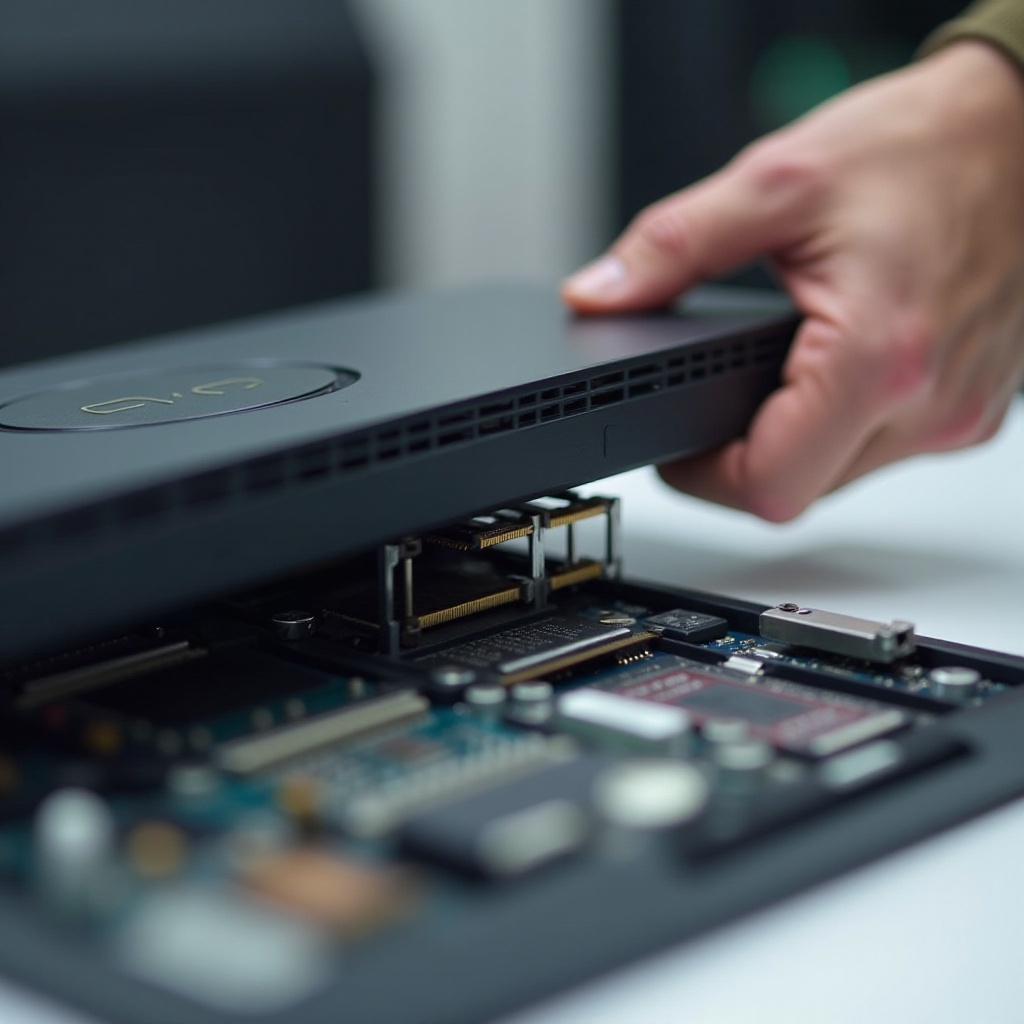
Accessing the SSD Slot
- Power off the PS5 and disconnect all cables.
- Lay it on a flat surface, removing the side panel with a gentle lift from the lower corner.
- Spot the SSD slot, masked by a metallic cover.
Installing and Securing the SSD
- Unscrew and remove the cover shielding the SSD bay.
- Insert your SSD into the slot angled at 45 degrees, ensuring it’s firmly positioned.
- Secure it using the provided screw and reattach the bay cover.
Reassembling Your Console
- Align and click back the side panel.
- Reconnect the PS5 cables and power it on.
- Confirm flow by configuring your new SSD for immediate use.
Configuring Your New Memory
Physical installation aside, it’s time to configure your SSD so PS5 recognizes the added storage.
Formatting the SSD for Use
Upon reboot, the PS5 will prompt SSD formatting. Follow instructions for a flawless setup, making your SSD ready to take on games and applications.
Managing Game Transfers
To relocate existing games to the SSD, go to ‘Settings’, ‘Storage’, select your desired game, and pick ‘Move to M.2 Storage’. This offers enhanced performance and space relief on the primary drive.
Troubleshooting Common Issues
Issues are uncommon but feasible. If your PS5 can’t detect the SSD, revisit your installation steps; check connections. Plus, verify compliance with compatibility guidelines. Persistent problems may require resetting the PS5 or another round of firmware updates.
Conclusion
Upgrading your PS5’s storage is a rewarding project, ensuring you never run out of space for your favorite games. With careful SSD selection and following this guide, you’ll reimagine your PS5 gaming experiences to great effect. Tech knowhow may vary in depth, but the right preparations will see you through with ease.
Frequently Asked Questions
Can any SSD be used with the PS5?
No, only specific M.2 NVMe SSDs with PCIe Gen4 x4 interface are compatible. Check for those meeting Sony’s specifications.
What should I do if my PS5 doesn’t recognize the new SSD?
Ensure the SSD is firmly connected, meets compatibility requirements, and your PS5 firmware is updated.
Is my PS5 warranty voided if I install the memory myself?
No, installing an SSD does not void your PS5 warranty, as long as it’s done per instructions.