Introduction
Upgrading your PS4 or addressing a hard drive issue can revitalize your gaming experience. The process of removing a PS4’s hard drive is straightforward, whether you’re adding storage or troubleshooting. Understanding each step ensures your console’s performance won’t suffer, and equipping it with a new hard drive or SSD can enhance gaming speeds and capacity. This guide walks you through the entire process of removing and replacing a PS4 hard drive, ensuring a smooth experience.
Before jumping into the actual removal, it’s important to familiarize yourself with the various hard drive options available. By understanding the types of drives compatible with PS4, you can make informed decisions about what to purchase, all while becoming more acquainted with your current setup.
Understanding PS4 Hard Drive Types
The PS4 supports 2.5-inch SATA hard drives and solid-state drives (SSDs), often found in laptops due to their compact size. SSDs offer rapid data access and shorter loading times compared to traditional hard drives, which typically provide high capacity at a lower cost.
Most PS4 systems ship with a hard drive that ranges between 500GB and 1TB. Recognizing what type of drive you currently have is critical if you’re planning to upgrade to a more efficient SSD. This knowledge will guide your decisions in choosing a replacement drive and prepare you for the removal and installation process we will explore in the following sections.
Preparing for Hard Drive Removal
Preparation is key before you undertake the hard drive removal process. Ensuring data backup and having the necessary tools at hand will streamline the operation and prevent data loss.
Backing Up Your Data
It’s essential to back up all your game data and saves before removing the hard drive. Use an external hard drive or the PS Plus online storage to safeguard your data. This step is crucial as any loss of data during the drive switching process can be avoided through proper backups.
Gathering Necessary Tools
To safely remove the PS4 hard drive, you will need a Phillips screwdriver to unfasten the drive bracket screws. Additionally, a soft cloth or mat is advised to protect both the console and the workspace from scratches or damage.
Step-by-Step Guide to Removing the PS4 Hard Drive
Once fully prepped, you’re set for the hands-on removal of the PS4 hard drive. Follow these instructions for a secure and efficient process.
Setting Up a Safe Workspace
- Turn off your console and disconnect all cables.
- Place your PS4 on a stable and well-lit surface to facilitate easy access and comfortable working conditions.
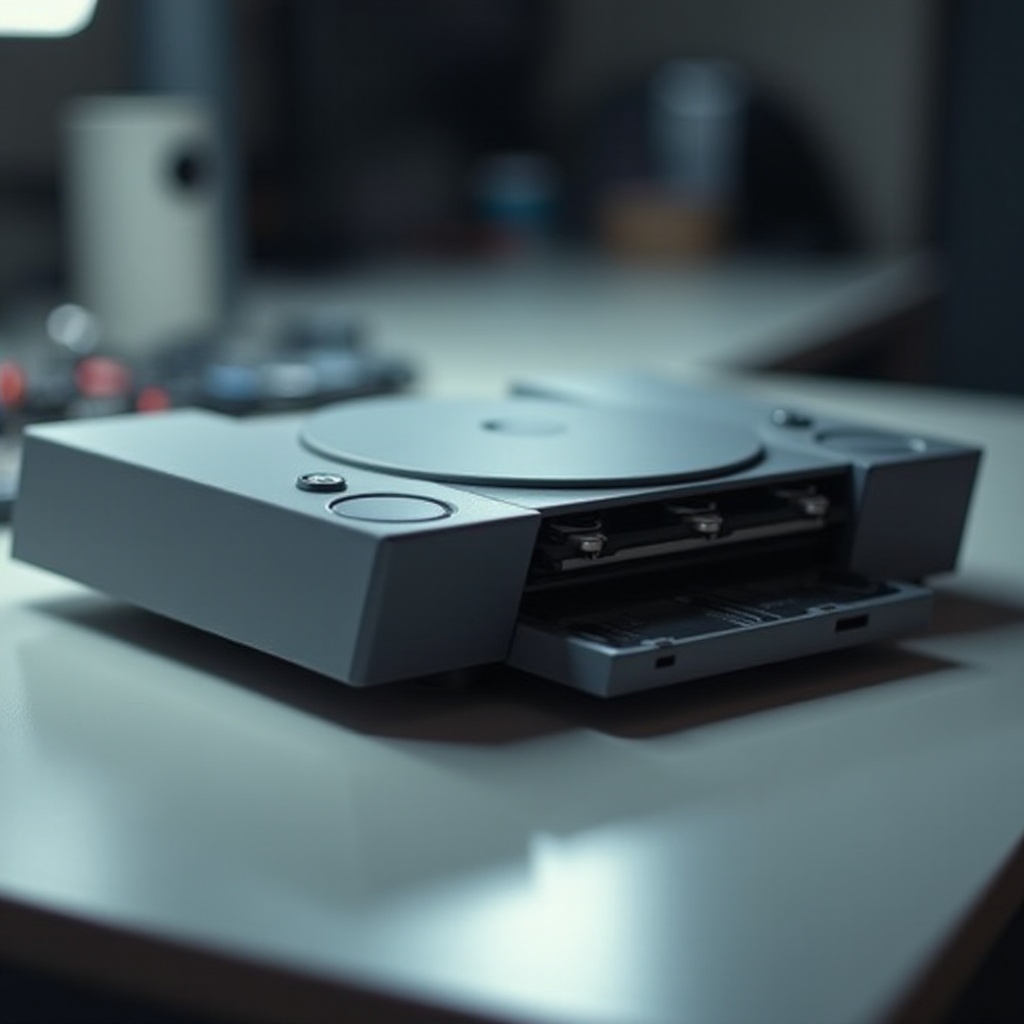
Accessing the Hard Drive Bay
- For both the PS4 Pro and original models, slide the hard drive cover clip towards you to remove it.
- On the PS4 Slim model, carefully pull up on the lower half of the back panel to remove it.
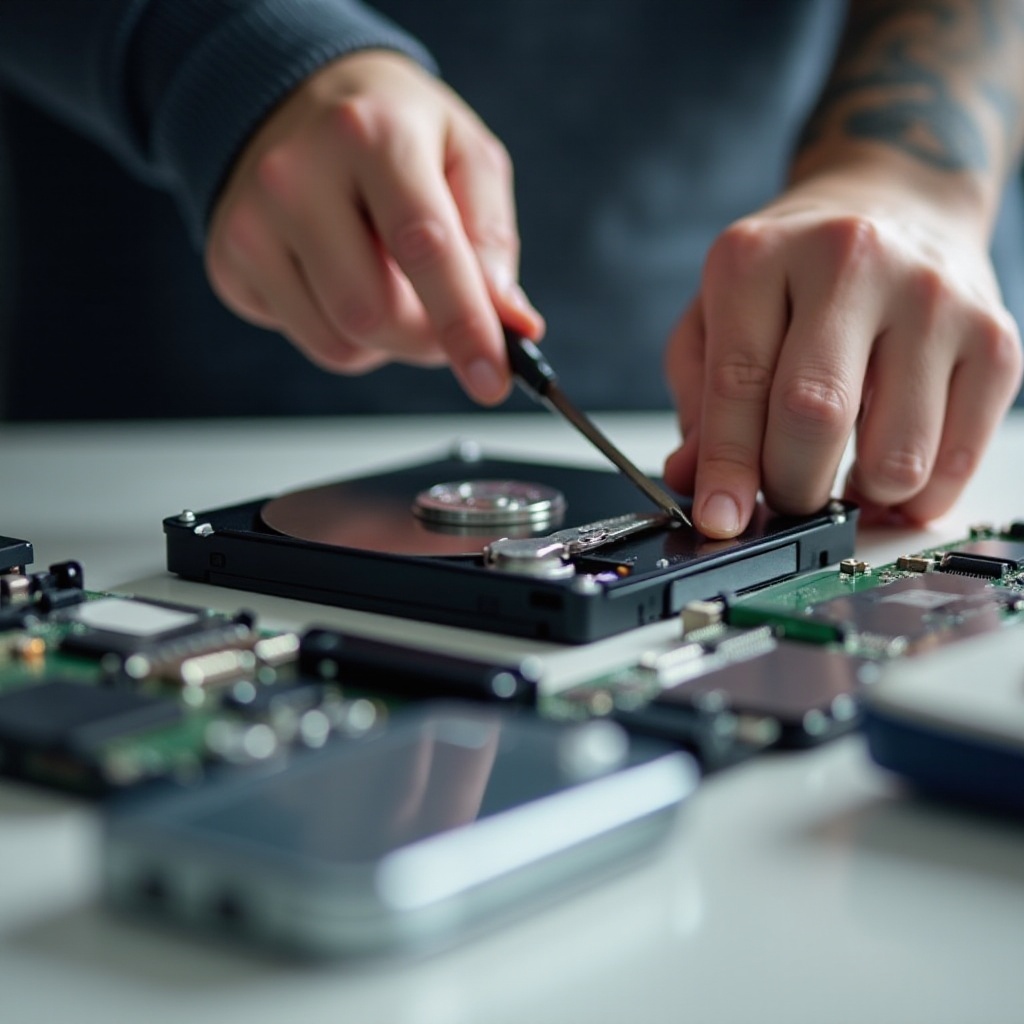
Removing the Hard Drive Safely
- Utilize the Phillips screwdriver to detach the bracket that anchors the hard drive inside the PS4.
- Once unscrewed, gently slide the hard drive bracket out of the bay.
- Disengage the hard drive from the bracket screws, keeping all components organized for future reinstallation if necessary.
Post-Removal Options and Next Steps
With your old drive removed, you’re ready to decide on your next course of action, whether that’s reinstalling a more advanced drive or exploring other storage options.
Choosing a New Hard Drive or SSD
Select a new drive that aligns with your storage requirements. Consider an SSD for faster operations; reputed brands like Samsung and Crucial provide robust SSDs compatible with PS4. If budget is your primary concern, Western Digital offers more affordable HDD options.
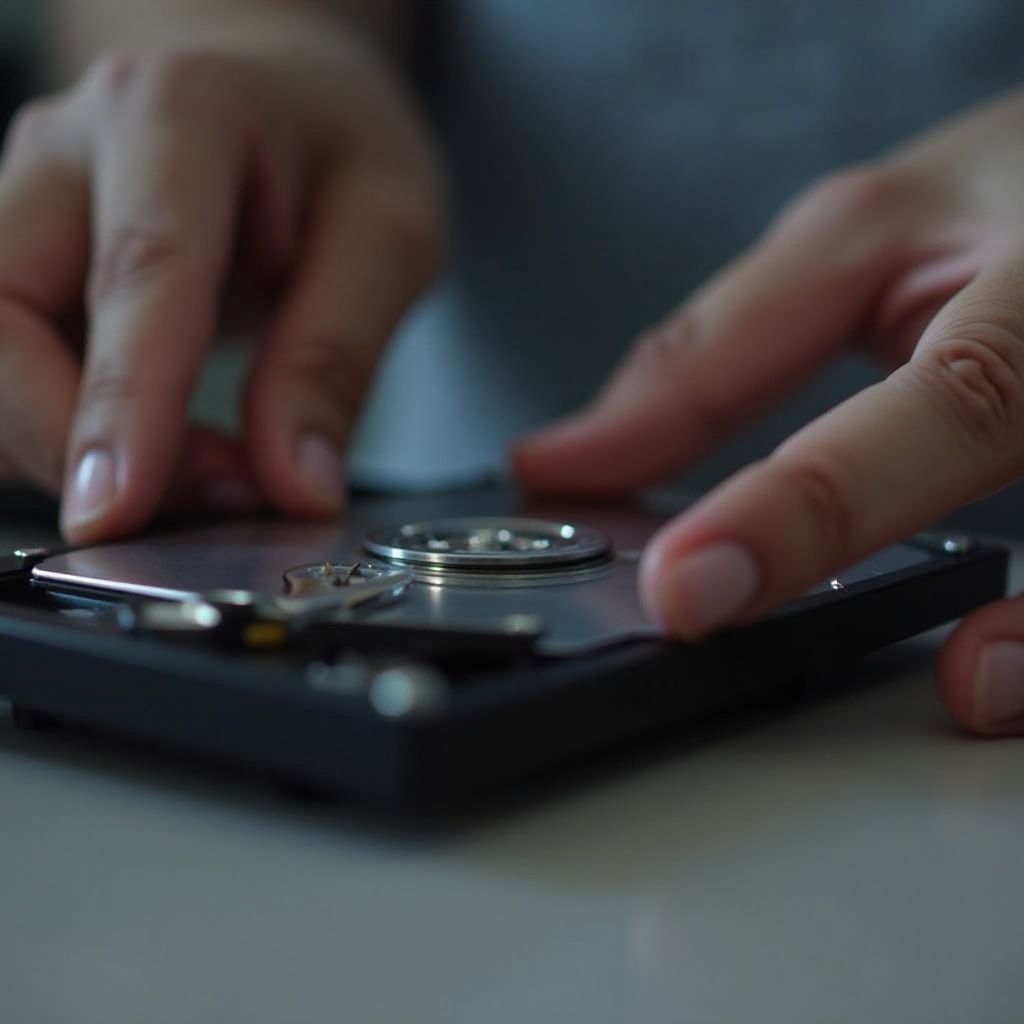
Installing a New Drive
- Attach the new drive securely onto the bracket with the previously removed screws.
- Place the drive inside the console and resecure the panel or cover.
Restoring System Software and Data
- Download the latest PS4 system software to a USB device and insert it into your console.
- Follow the on-screen instructions to install the software.
- Restore your backed-up data from your chosen source.
Troubleshooting Common Issues
Should your new hard drive not be recognized, ensure all connections are tightly secured and the drive is correctly installed. Reaffirm that the latest system software is installed, following official guidelines meticulously.
Conclusion
Removing and replacing a PS4 hard drive is an accessible task when approached with the right preparation and knowledge. Whether your goal is enhanced performance through a new SSD or expanded storage capacity, this process safeguards your console while offering broader gaming experiences. Always remember, backing up your data is pivotal to avoid any unnecessary frustration. With this comprehensive guide at your disposal, you’re ready to upgrade your PS4 setup seamlessly.
Frequently Asked Questions
Is my warranty void if I remove the PS4 hard drive?
No, removing or replacing the hard drive does not void your PS4 warranty.
Can I use an external hard drive with my PS4?
Yes, PS4 supports external hard drives for additional storage, plugging directly into the USB port.
What should I do if my new hard drive isn’t recognized?
Double-check connections and ensure the latest system software is installed correctly.