Introduction
Gaming is more than just visuals; audio plays a significant role in creating an immersive experience that can enhance gameplay dramatically. While the Nintendo Switch offers great audio through its onboard speakers, connecting it to higher-quality computer speakers can elevate your gaming experience. This guide will take you through the necessary steps to connect your Nintendo Switch to your computer speakers using a USB-C connection, and provide you tips on optimizing and troubleshooting the setup.
Why Connect Your Switch to Computer Speakers?
Connecting your Nintendo Switch to computer speakers allows you to enjoy richer and more immersive audio. Whether it’s the sound of footsteps creeping up behind you in a stealth game, or the epic orchestral soundtrack of a role-playing game, better audio enhances the entire gaming experience. Additionally, connecting to computer speakers offers superior sound quality compared to the built-in speakers of the Switch, delivering clearer and more powerful audio that can make all the difference in crucial moments of your gameplay.
What You Need
Before diving into the connection process, it’s essential to gather all the required equipment. Here’s a list of what you’ll need:
– A Nintendo Switch console
– A USB-C to Audio Adapter
– Computer speakers (with 3.5mm input)
– A 3.5mm audio cable (if not integrated with your computer speakers)
– USB-C cable (if required for the adapter).
Once you have all these items on hand, you can proceed to connect your Nintendo Switch to your computer speakers following the detailed steps below.
Step-by-Step Guide: Connecting Your Switch to Computer Speakers
Step 1: Gathering all required equipment
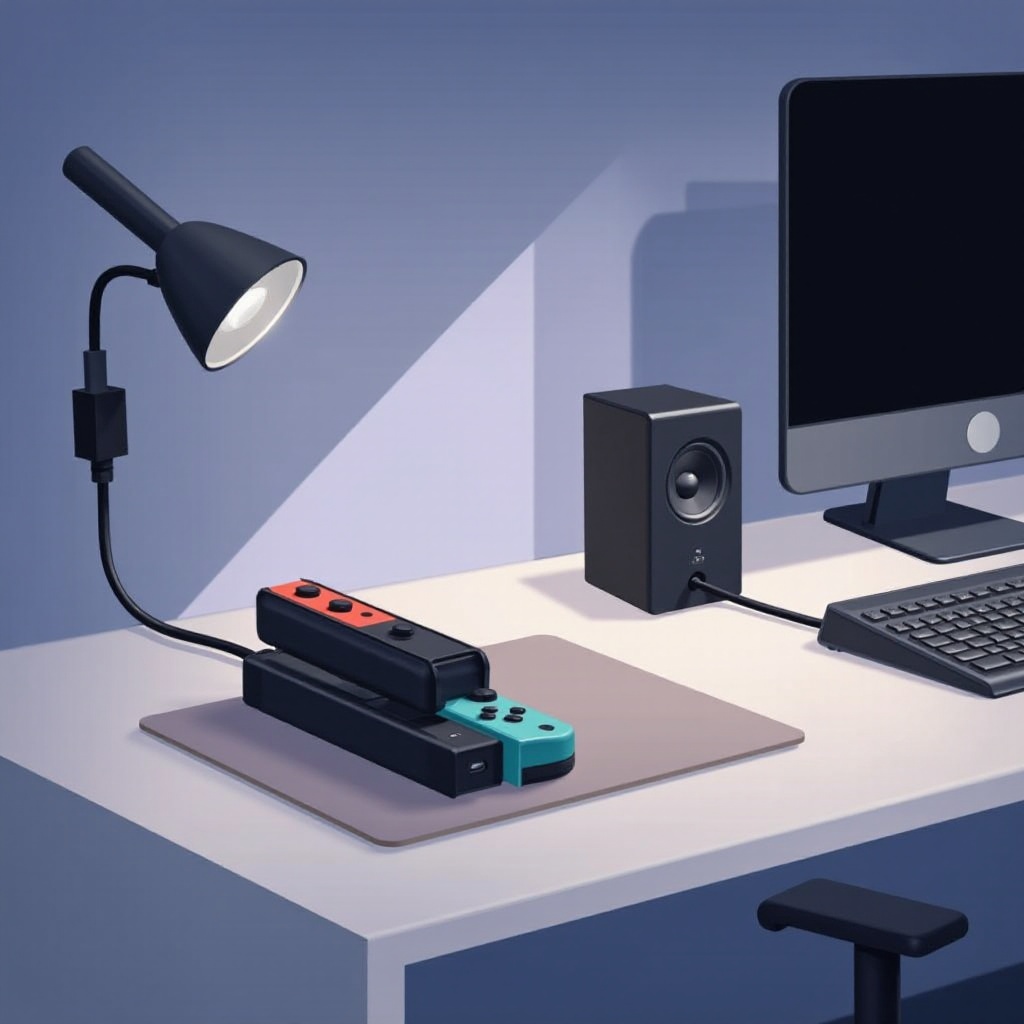
First, make sure you have all the necessary equipment: your Nintendo Switch, a USB-C to Audio Adapter, computer speakers with a 3.5mm input, and the required cables.
Step 2: Connecting the USB-C to Audio Adapter to the Switch
- Turn off your Nintendo Switch to prevent any potential damage.
- Insert the USB-C to Audio Adapter into the USB-C port at the bottom of the console.
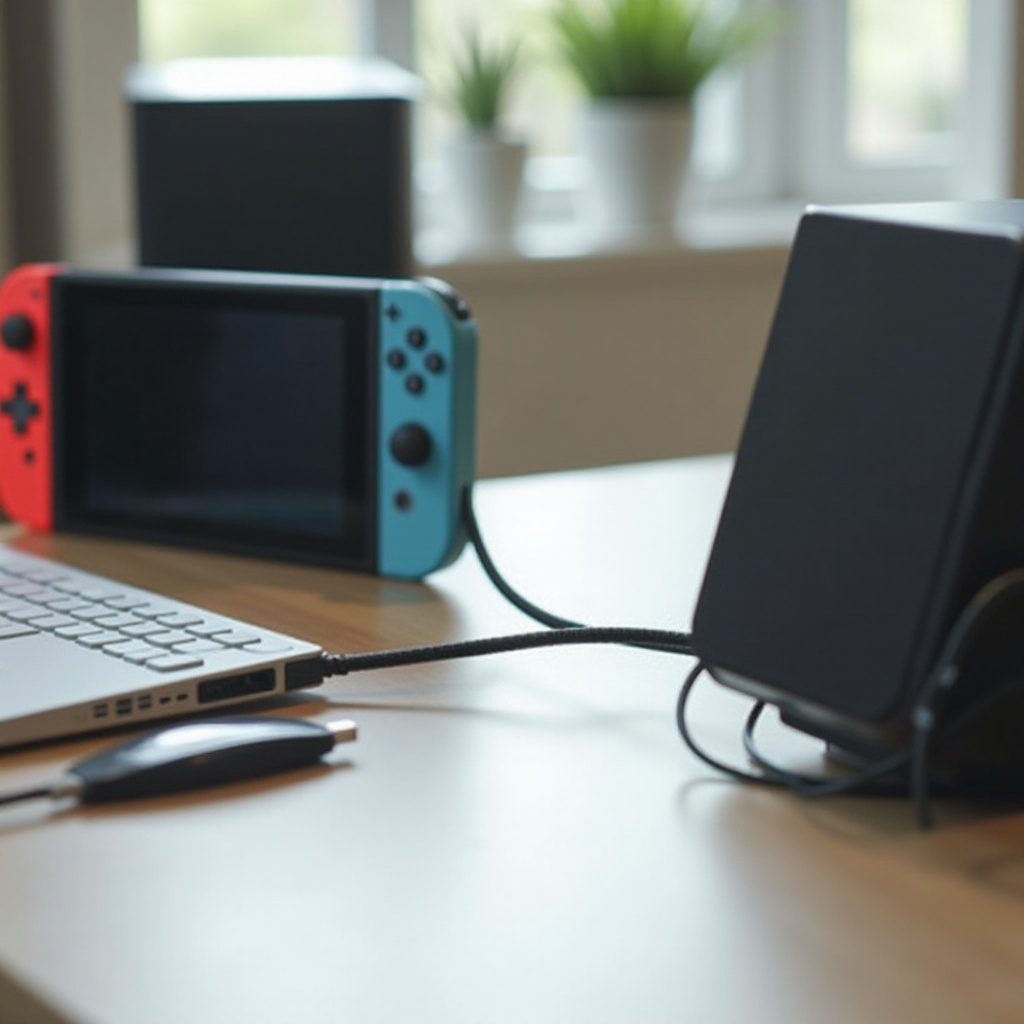
Step 3: Connecting the adapter to the computer speakers
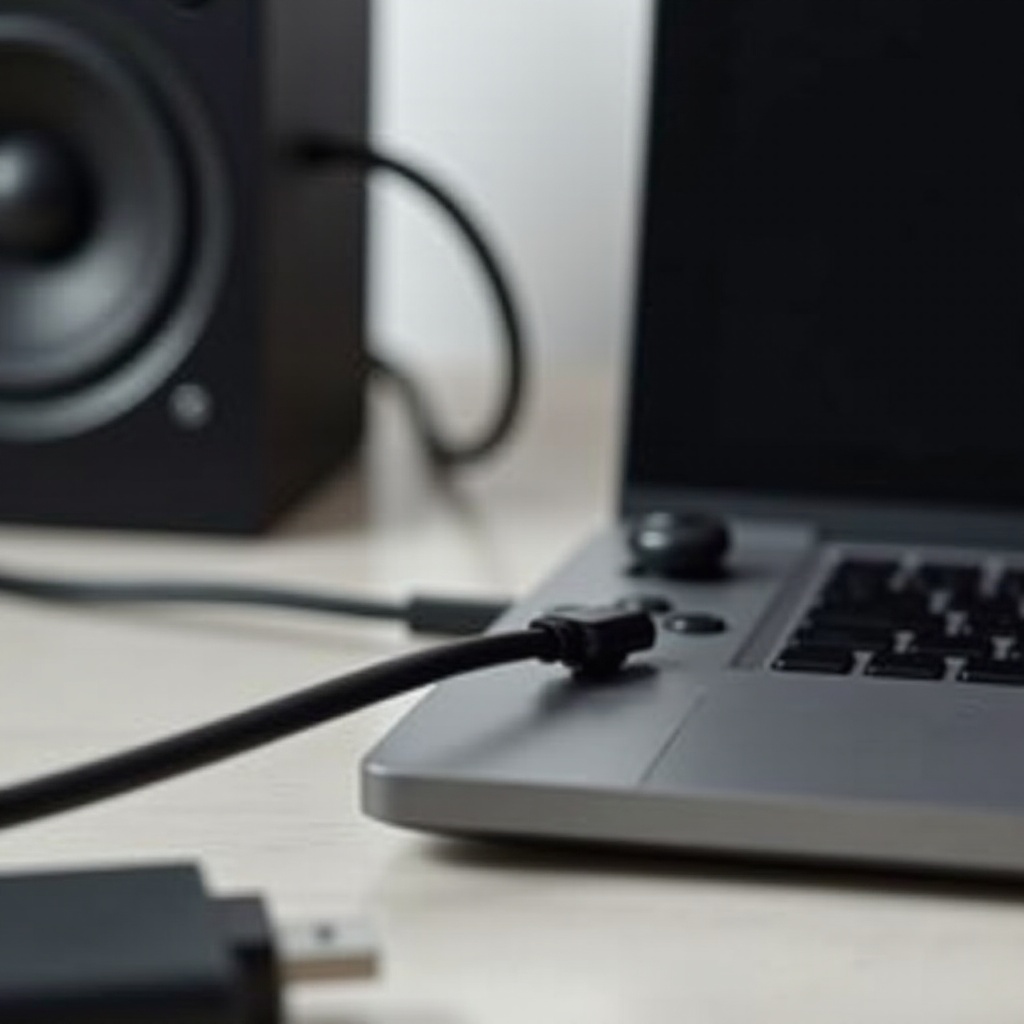
- Plug one end of the 3.5mm audio cable into the USB-C to Audio Adapter.
- Connect the other end of the 3.5mm audio cable to the input on your computer speakers.
Step 4: Switching on all devices and adjusting settings
- Turn on your Nintendo Switch and computer speakers.
- Navigate to the Switch’s audio settings to ensure the output is set to ‘headphones’ or ‘external speakers.
- Adjust the volume on both the Switch and the computer speakers to set your preferred listening level.
Your Nintendo Switch should now stream audio directly to your computer speakers, delivering more robust and immersive sound.
Troubleshooting Common Issues
Even with a straightforward setup like this, you might run into some common issues. Here are potential problems and how to solve them:
No sound or poor sound quality
- Check if all connections are secure.
- Ensure the Nintendo Switch’s audio settings are correctly configured.
- Try adjusting volume levels on both the Switch and speakers.
Device compatibility issues
- Verify that the USB-C to Audio Adapter is compatible with the Nintendo Switch.
- Confirm the Switch’s firmware is updated to the latest version.
Cable problems
- Inspect all cables for any visible signs of damage.
- Test with a different 3.5mm cable or USB-C to Audio Adapter if available.
Optimizing Sound Quality and Accessories
For the best audio experience, you might want to fine-tune some settings:
Adjusting sound settings on the Switch and speakers
- Access and adjust the sound settings on your Nintendo Switch for optimal output.
- Fine-tune the volume and bass/treble settings on your computer speakers.
Using equalizers and sound settings on the Switch
- Utilize any available equalizer settings on your Nintendo Switch to enhance audio output based on the type of game you’re playing.
Positioning your computer speakers for the best audio experience
- Arrange your computer speakers to create a balanced audio field, avoiding placing them on uneven surfaces or directly on the floor.
- Ensure that the speakers are directed at your usual sitting position for optimal sound distribution.
Besides the essential items covered, you might consider additional accessories to enhance your audio experience:
- Headphone splitters if you want to connect multiple audio devices.
- USB-C hubs for additional connectivity options.
- High-quality 3.5mm audio cables to ensure the best sound transmission.
Conclusion
By connecting your Nintendo Switch to computer speakers via USB-C, you can elevate your gaming experience significantly through enhanced audio quality. This guide walks you through the necessary steps, tools, and potential troubleshooting to ensure a smooth and successful setup. Enjoy your immersive audio experience!
Frequently Asked Questions
Can I use any USB-C to Audio Adapter with my Switch?
While many USB-C to Audio Adapters are compatible, it’s best to choose one specifically marketed for the Nintendo Switch to ensure compatibility and performance.
What if my computer speakers don’t have a 3.5mm input?
If your computer speakers lack a 3.5mm input, you may need an additional adapter to convert the audio signal into a compatible format for your speakers.
Will connecting external speakers drain my Switch’s battery faster?
Using a USB-C connection for audio may draw more power from your Nintendo Switch, but the overall impact on battery life is typically minimal.